
The images in digital cameras these days are getting bigger and bigger as digital camera companies increase the pixel rate to ever larger sizes. One reason for choosing a particular digital camera is the choosing the one which will take the largest picture (pixels) possible. The only problem with the larger pictures is that on many of the cameras if you move the camera at all, the picture turns out fuzzy. Even a little movement and you get a blur. Hence the need to sharpen the picture.
In most Photoshop type programs a sharpen tool is included, but often the level of adjustment is minimal and to sharpen a blurred picture is often to make it look grainy with noise in the picture…ie…it is very hard to do WELL. If a program was able overcome the fake and harsh look of the sharpening tool, it would be a great addition to the filters for Photoshop. Ultra-Sharpen 5.0 Pro is such a Photoshop plug-in–it is a very flexible and yet powerful way to sharpen images.
The digital images today often need sharpening of different amounts in different areas. For example in an outdoor picture, the sky rarely needs sharpening, but if you sharpen the whole picture, the sky begins to look grainy and degrades the whole picture. With Ultra-Sharpen 5.0 Pro you can control what does and does not get sharpened. Let me take a picture that I took with my Olympus E10 digital camera of a lovely couple that unfortunately turned out blurry: When you use Ultra-Sharpen on the photo above, it first reduces the picture to black and white and brings up a Levels Dialogue Box. In most photos the lighter parts of the picture need little or no sharpening and the darker or black parts will get full sharpening and the in-between parts will get a percentage of sharpening:
After you click OK a second dialogue box appears, the Gaussian Blur Dialogue Box. The lower the amount of blur applied the more hard the sharpening will be and the higher the amount of blur the more blended and softer the sharpening will be. I have chosen a medium amount of blur. Then I click OK: You have before you another Levels Dialogue Box so that you can fine tune the level of sharpening you wish even further. Notice that I fine-tuned it from the grey blurred photo above: Finally, the Unsharp Mask Dialogue Box appears. You can see that many areas of the Photo are masked to keep them from being sharpened at all.

However, you can also see that certain areas of the face of the woman and the man are ready to be sharpened. The smooth areas of the skin need no sharpening, but the area around the hair of the women in particular needs a good deal of sharpening. With high resolution photos, as this one is, a good deal of sharpening is needed, but the sharpening must be precise. Use the radius sliders the accomplish the final sharpening process: Now Ultra-Sharpen is complete and you can notice the photo is sharpened. This is a quite useful tool to add to your Photoshop collection that will definitely help in your photography. The Pro Version Includes…
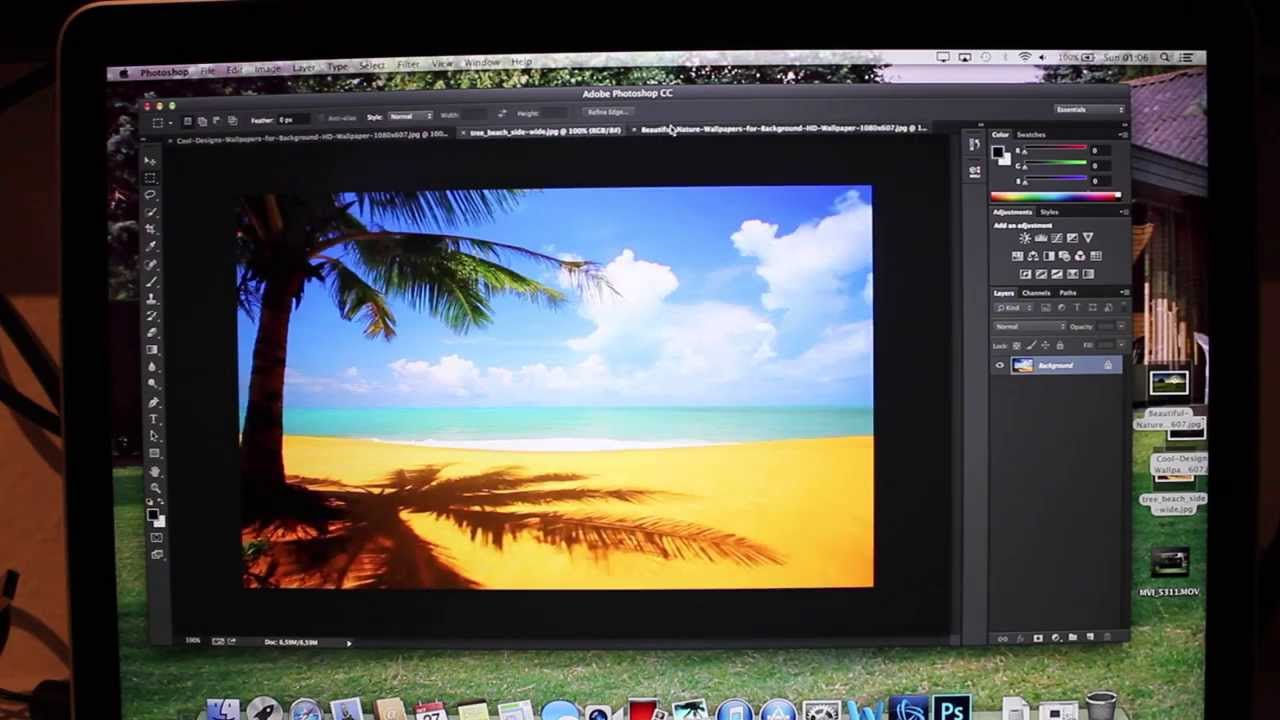
Photoshop has become a popular option if you want to edit your images in a presentable format as today’s generation is very particular about their looks and simply can’t stand looking at their contorted images on photo, which is why photoshop mac has become such a successful venture that has proven to be a big business venture.